
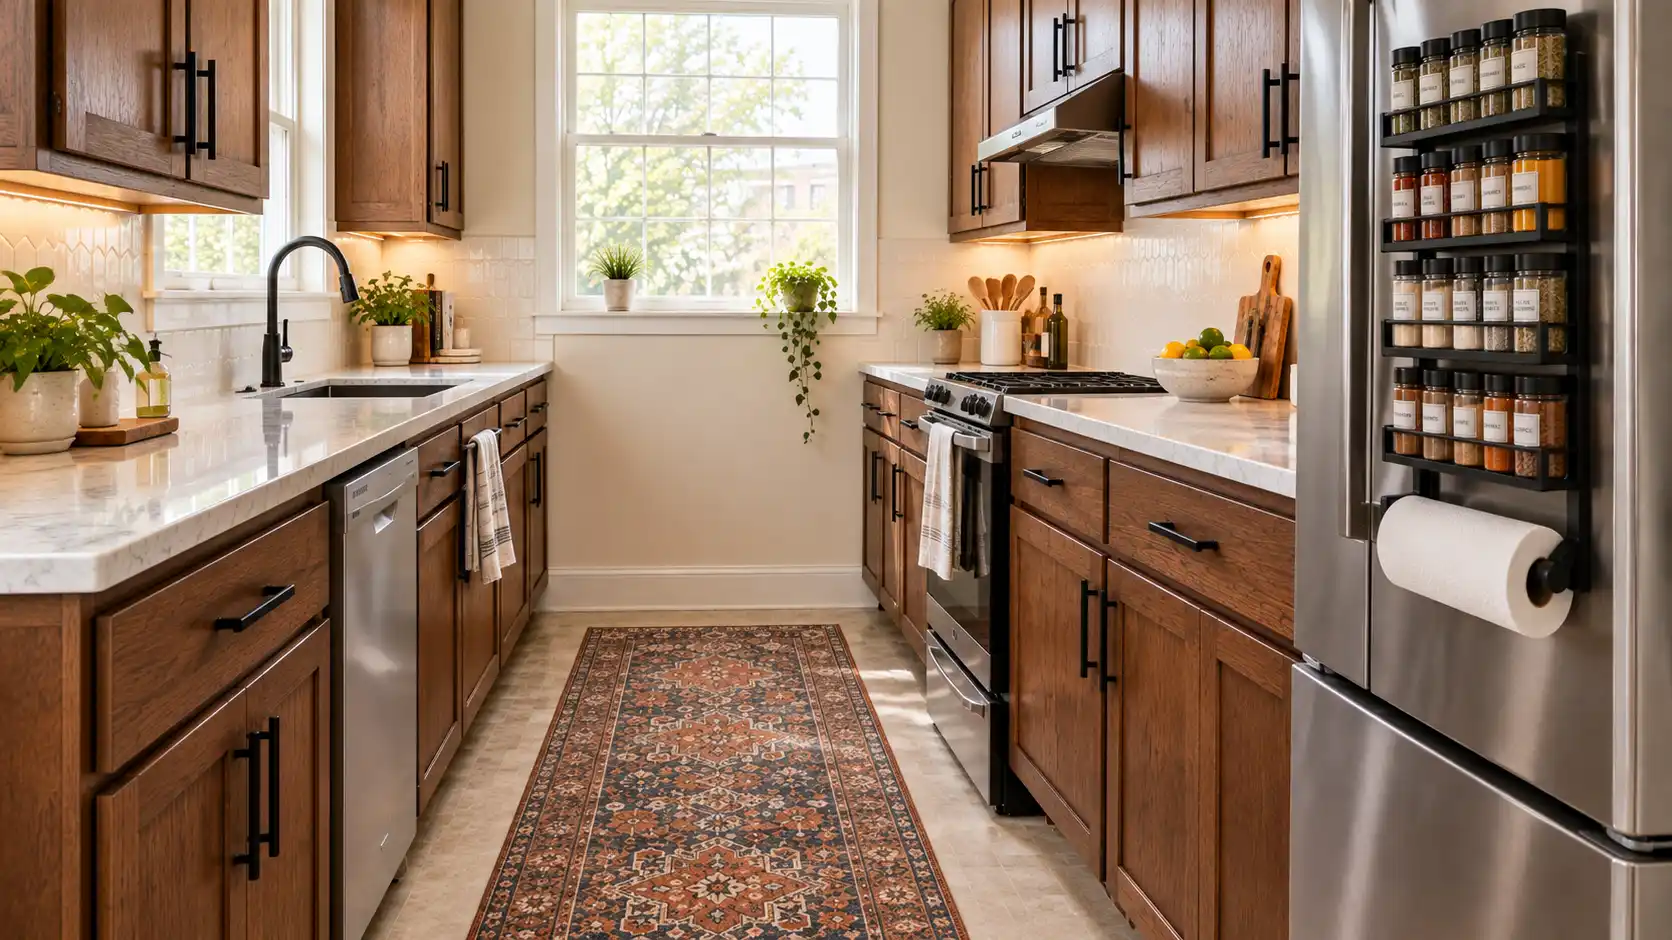
Living in a rental property often means accepting design choices you would never make yourself. Outdated oak cabinets, stained linoleum floors, and poor lighting can make the heart of your home feel entirely uninspiring. However, living with a landlord’s questionable taste is no longer a strict requirement. You can make significant, renter-friendly upgrades that leave zero permanent damage.
Implementing the right rental kitchen ideas requires strategy, careful material selection, and reversible installation methods. You need solutions that look high-end but peel away cleanly on move-out day. This guide focuses on high-impact, low-commitment changes that upgrade your cooking space while protecting your security deposit.
The strategy relies on covering unsightly surfaces, improving functionality, and layering aesthetic details. Every step outlined below prioritizes removable adhesives, tension-based hardware, and temporary fixtures. By dedicating a single weekend to these specific tasks, you can redefine your kitchen’s aesthetic. Get ready to roll up your sleeves and execute these proven rental kitchen ideas.
What You Need
Apply Peel-and-Stick Backsplash Tiles
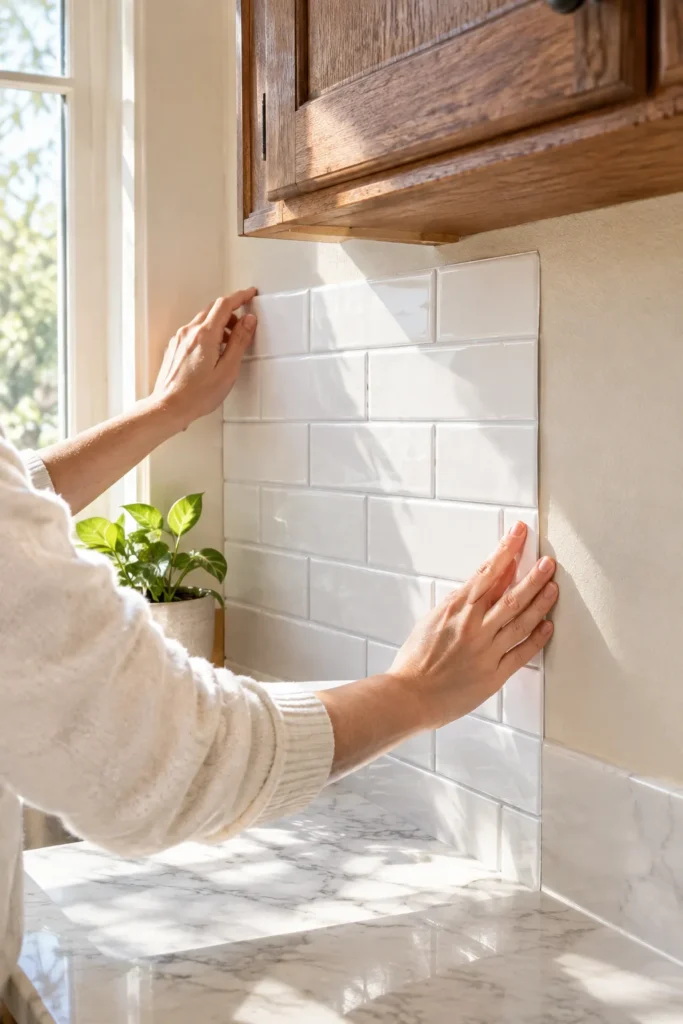
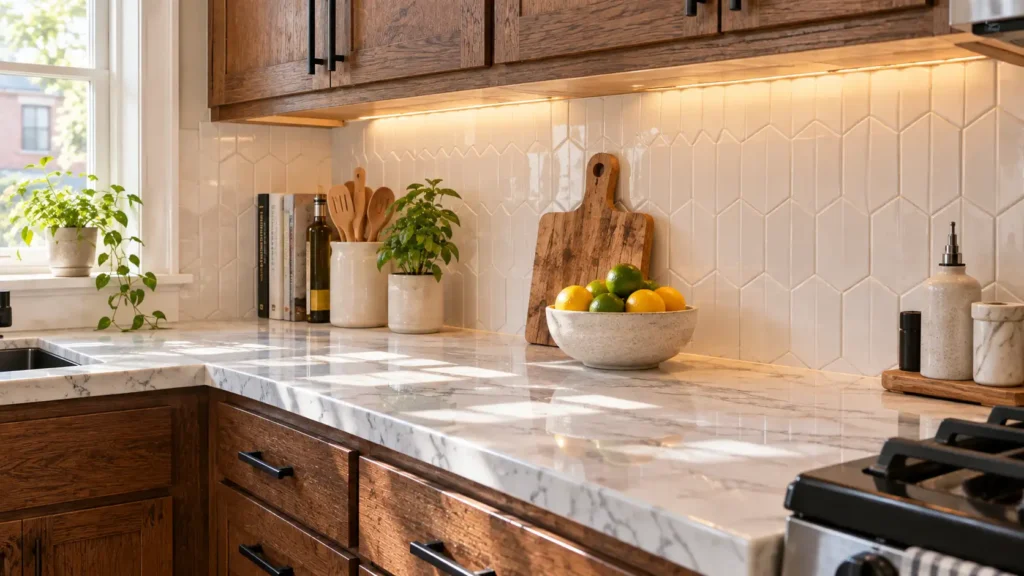
A dated backsplash dictates the entire color palette of your kitchen. Covering it up provides the highest visual return on your time investment. Modern peel-and-stick tiles come in realistic textures, from glossy subway tiles to matte geometric patterns. They are engineered to withstand moderate heat and humidity, making them perfect for temporary kitchen upgrades.
Preparation dictates the success of this installation. Kitchen walls accumulate invisible layers of cooking grease that will reject any adhesive. Spray a heavy-duty degreaser over the existing tile or drywall and scrub vigorously. Wipe the area down with warm water and let it dry completely for 24 hours before applying any tiles.
Start your installation in the most visible corner and work your way outward. Peel back only 2 inches of the backing at a time to maintain control and prevent the tile from sticking to itself. Overlap the grout lines precisely as instructed by the manufacturer to ensure a seamless, waterproof finish. Measure twice around electrical outlets and cut the tiles using a sharp utility knife.
Pro Tip: Tile Removal
When it is time to move out, point a hair dryer set to high heat at the tiles for 30 seconds before peeling. The heat softens the adhesive, preventing it from ripping the drywall paper or leaving stubborn residue behind.
Swap Out Outdated Cabinet Hardware
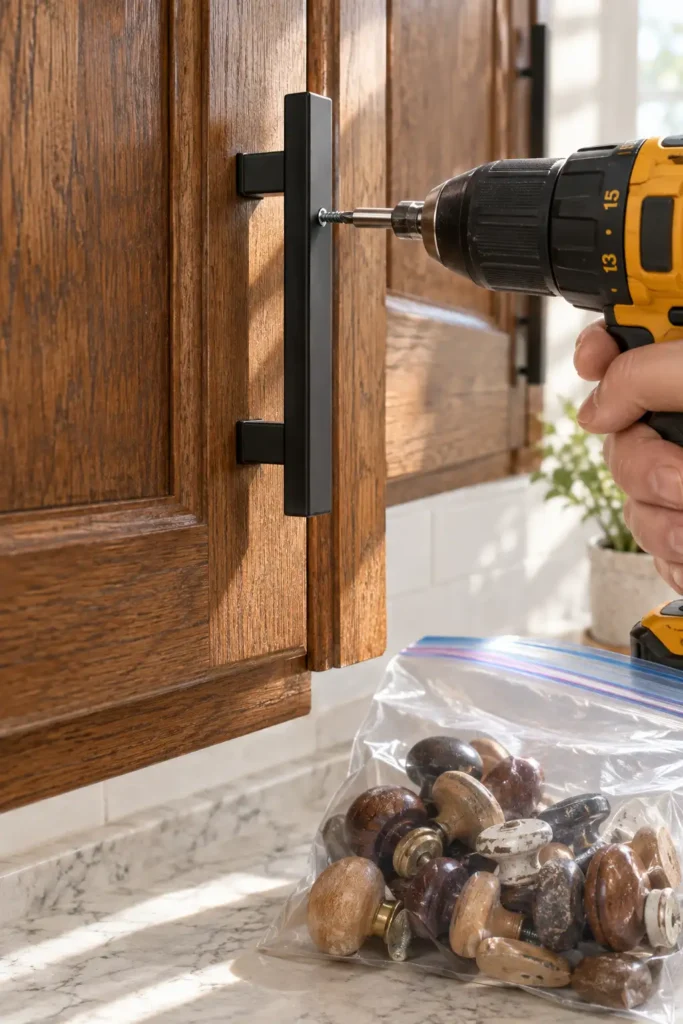
Landlords frequently install the cheapest builder-grade cabinet hardware available. Replacing these generic knobs and pulls customizes your kitchen without requiring structural changes. Because the holes are already drilled into the cabinet doors, this task requires zero permanent modifications. You only need a screwdriver and careful measurements to complete this upgrade.
Before purchasing new hardware, measure the distance between the existing screw holes. This measurement is known as the center-to-center distance. Standard sizes are typically 3-inch, 4-inch, or 5-inch spans. Buying hardware with the exact same center-to-center measurement guarantees you will not need to drill new holes in the landlord’s cabinets.
Remove the old hardware and store it immediately in a labeled plastic bag. Place this bag in the back of a high cabinet or inside your utility closet so you do not lose a single screw. Install your new brushed brass, matte black, or polished nickel handles, which typically takes about 2 minutes per cabinet door. Keep the screwdriver handy to tighten any loose fixtures after the first week of use.
Cover Unflattering Countertops with Contact Paper
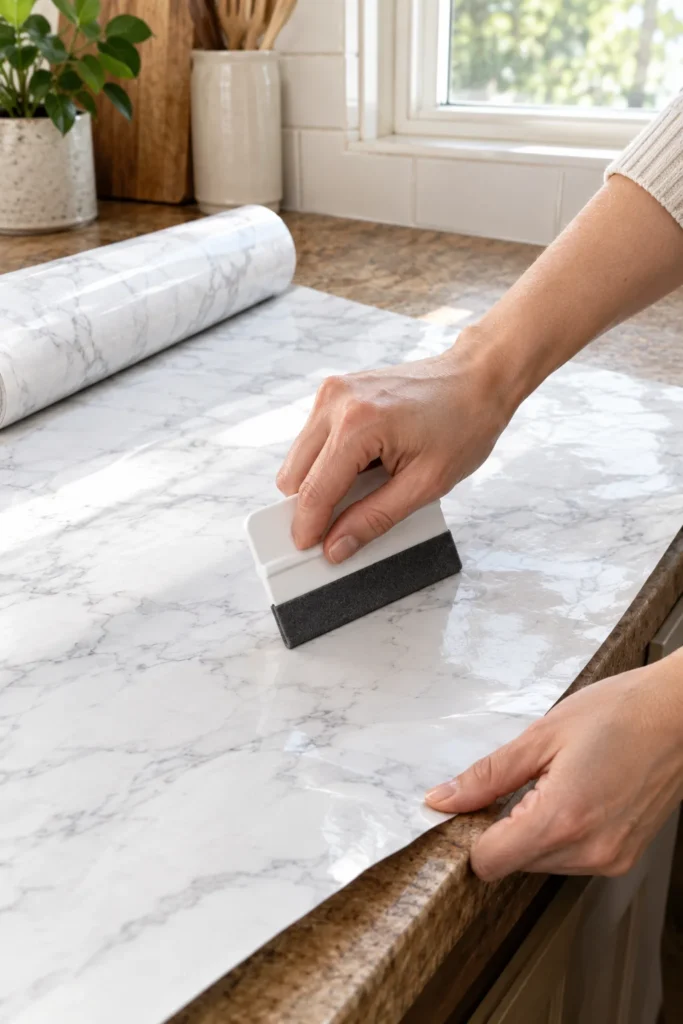
Scratched, stained, or aggressively patterned laminate countertops easily ruin a kitchen’s aesthetic. High-quality architectural vinyl—commonly called contact paper—provides a realistic faux-stone or wood-grain finish. Modern versions are remarkably durable, water-resistant, and completely removable. This process demands patience, but the results look identical to real stone from a distance.
Measure your countertops and purchase rolls that are at least 24 inches wide to avoid unnecessary seams on standard counters. Clean the counters thoroughly with rubbing alcohol to remove all debris and oils. Cut the vinyl with a 1-inch to 2-inch overhang on all edges, giving yourself room to wrap the material tightly under the counter lip.
Apply the vinyl slowly, unrolling 3 inches of backing at a time while smoothing the top surface with a felt-edged squeegee. If an air bubble forms, do not panic. Prick the bubble with a sewing needle and press the trapped air out with your finger. Heat the edges with a hair dryer to stretch the vinyl smoothly over rounded corners and complex sink edges.
Pro Tip: Silicone Sealing
Apply a thin line of clear silicone caulk around the edge of the kitchen sink after installing the contact paper. This prevents standing water from seeping under the vinyl and degrading the adhesive over the course of your 12-month lease.
Mount Temporary Under-Cabinet Lighting
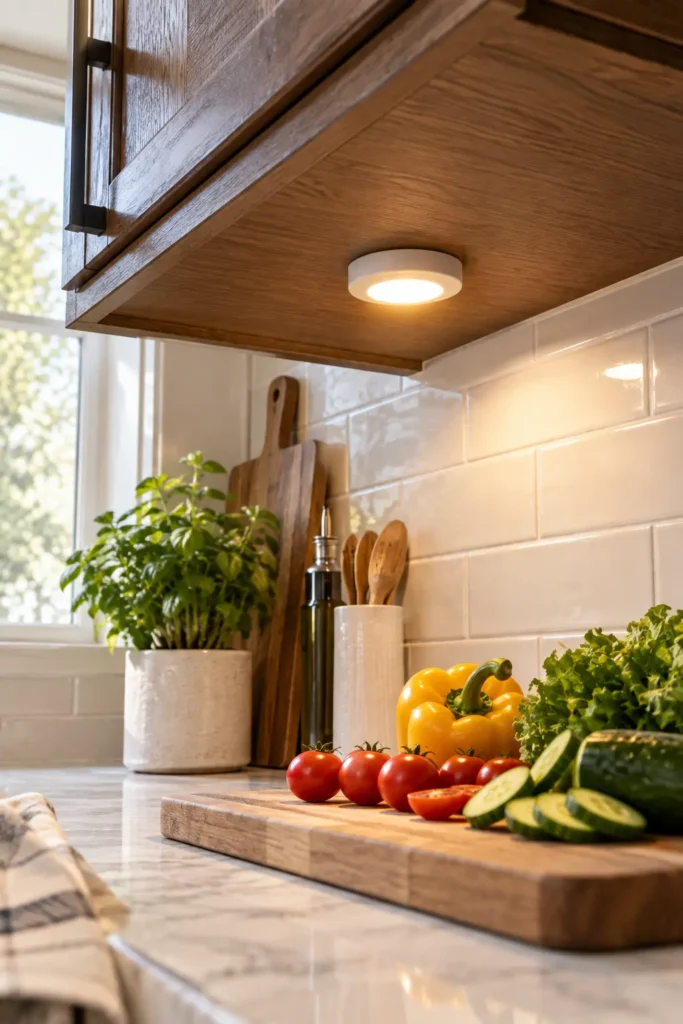
Harsh, overhead fluorescent lights create an uninviting atmosphere in any kitchen. Under-cabinet lighting introduces warmth, eliminates shadows on your workspace, and makes the room feel custom-built. Renters cannot hardwire new electrical fixtures, but battery-powered or plug-in LED options offer an identical aesthetic.
Select wireless LED puck lights or thin light bars equipped with motion sensors or remote controls. Opt for fixtures that emit a 3000K LED color temperature. This specific temperature provides a warm, inviting white light that looks professional, avoiding the sterile, blue tint of 4000K LED or higher bulbs.
Attach these lights using heavy-duty mounting tape rather than screws. Place them as close to the front edge of the upper cabinets as possible. Mounting them at the front, rather than against the backsplash, directs the light downward onto the center of your counters where you actually prep food. Buy units with rechargeable batteries to save money on replacements.
Roll Out a Washable Runner Rug
Ugly kitchen flooring is notoriously difficult to hide in a rental unit. While peel-and-stick floor tiles exist, they frequently leave thick, sticky residue on linoleum that costs you your deposit. The safest and most effective strategy is to distract the eye and cover the main walkway with a high-quality runner rug.
Choose a low-profile, washable rug with a maximum 1/4-inch pile height. Kitchen rugs endure spills, dropped food, and heavy foot traffic, meaning a thick, shaggy rug will quickly become unsanitary. Washable rugs can be thrown directly into your washing machine on a cold cycle, maintaining a fresh appearance year-round.
Size matters when selecting a runner for a galley kitchen or an island walkway. A standard 2×6 foot or 2×8 foot runner typically spans the length of the primary prep zone. Always place a high-quality, non-slip rug pad underneath to prevent the rug from shifting dangerously when you carry hot pots across the room.
Maximize Storage with Freestanding Solutions
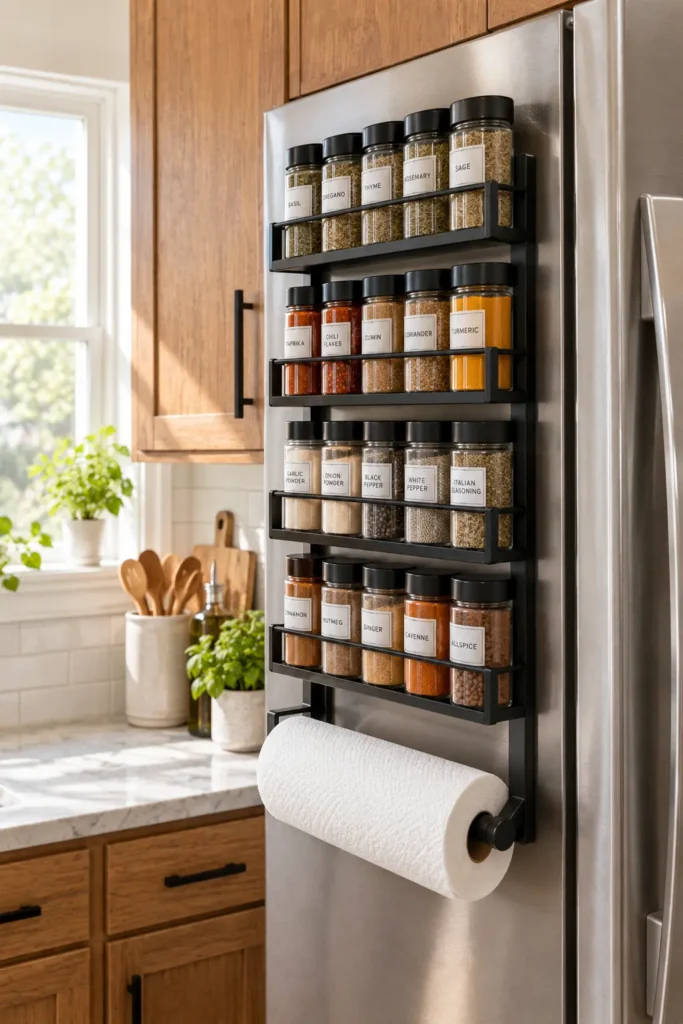
Rental kitchens are notoriously short on functional storage space. When you cannot drill into the walls to hang floating shelves or pot racks, you must rely on freestanding and tension-based organizers. Capitalizing on vertical space keeps your limited counter area completely clear for food preparation.
Utilize the blank sides of your refrigerator by attaching magnetic spice racks or paper towel holders. Heavy-duty magnetic shelves can support up to 10 pounds of weight, securely holding olive oil bottles, jars, and utensils. This utilizes space that otherwise sits entirely empty in most standard rental layouts.
Add over-the-door organizers to the inside of your pantry and lower cabinet doors. These wire racks slide neatly over standard 3/4-inch cabinet doors without requiring screws. Use them to hold cutting boards, aluminum foil, and cleaning supplies, instantly doubling the functional capacity of a standard base cabinet.
Conclusion
Upgrading a temporary cooking space relies entirely on clever masking and reversible styling. You do not need a massive renovation budget to make a rental kitchen feel like home. By approaching the space methodically, you can cover outdated surfaces, install modern hardware, and layer lighting that dramatically alters the room’s atmosphere.
The success of these projects hinges on strict adherence to removable methods. Keep your original cabinet hardware stored securely, use heat to loosen strong adhesives before removal, and rely on freestanding organizational systems. These rental kitchen ideas allow you to cook and entertain in a space that reflects your personal style. You can enjoy a beautiful, highly functional room for the duration of your lease, and pack up all your upgrades cleanly when it is time to move on.
FAQ
Are peel-and-stick backsplashes safe for rental kitchens?
Yes, most modern peel-and-stick vinyl tiles are designed explicitly for temporary applications. Applying heat with a hair dryer before removal softens the adhesive, allowing you to peel them off without ripping the drywall or leaving permanent residue behind.
How do I remove contact paper from countertops?
Start at one corner and use a plastic scraper to lift the edge. Point a hair dryer at the vinyl, holding it about 4 inches away, to warm the glue. Pull the paper back slowly at a 45-degree angle. Clean any minor leftover stickiness with a citrus-based adhesive remover.
Can I paint rental kitchen cabinets?
You should never paint rental kitchen cabinets without explicit written permission from your landlord. Painting is a permanent change. If you paint them without consent, the landlord will likely charge you the full replacement cost of the doors out of your security deposit.
What are the most cost-effective rental kitchen ideas?
The most effective updates include changing the cabinet hardware, deep cleaning the space, adding a washable runner rug, and installing battery-operated LED puck lights. These upgrades draw the eye away from dated features for well under $100.