
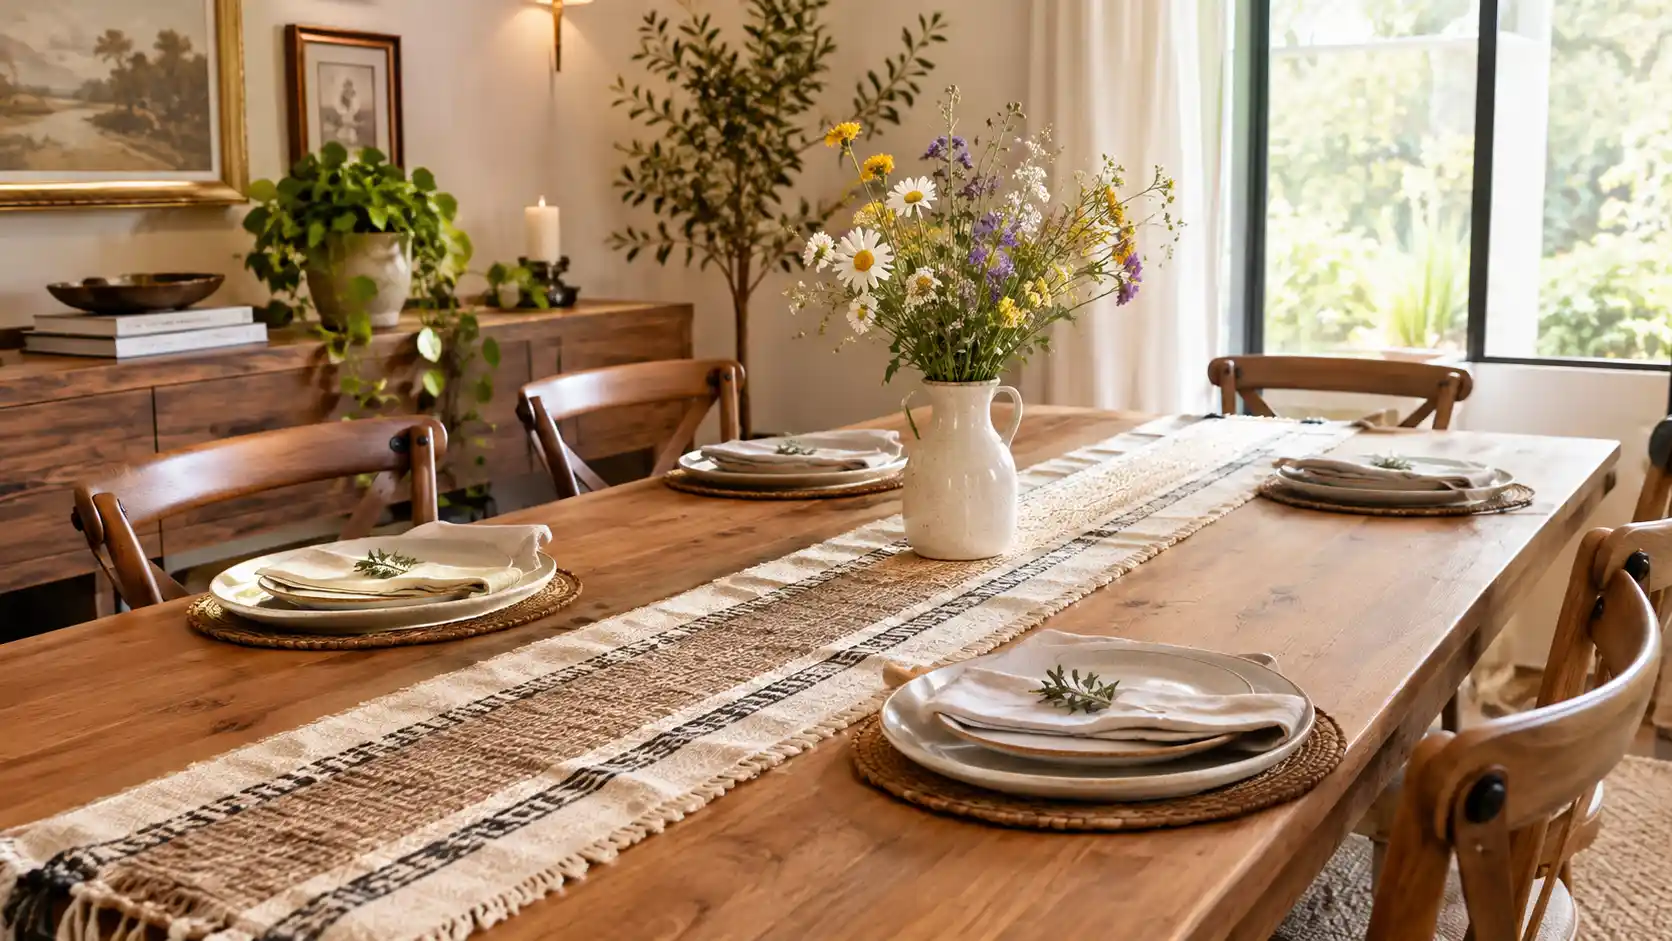
Dining tables often look bare without a central textile to anchor the room’s decor. Purchasing custom linens easily costs upwards of $100, pricing many homeowners out of seasonal styling. Executing specific diy table runner ideas provides a bespoke aesthetic without breaking your budget.
This guide breaks down exact, step-by-step projects requiring minimal sewing or crafting experience. You will learn precise fabric measurements, cutting techniques, and finishing methods to build durable table linens. Review these material specifications and the fabric selection guide below before rolling out your fabric.
Fabric Selection & Cost Guide
Selecting the correct base material dictates the longevity and maintenance requirements of your final project. Use this reference table to match your chosen aesthetic with the appropriate fabric and estimated budget.
| Base Material | Best Design Style | Washability | Estimated Cost (Per Yard) |
|---|---|---|---|
| Natural Burlap | Rustic / Farmhouse | Spot Clean Only | $3 – $5 |
| Heavy Canvas | Industrial / Geometric | Machine Washable | $2 – $4 |
| 100% Cotton | Modern / Reversible | Machine Washable | $8 – $12 |
| Plaid Flannel | Winter / Cabin | Hand Wash Recommended | $6 – $10 |
Cut and Fray a Rustic Burlap Runner

Burlap provides heavy texture and extreme durability for farmhouse-style dining rooms. Purchase a roll of natural jute burlap measuring at least 14 inches wide. Measure your dining table length and add exactly 12 inches to allow the fabric to hang off both ends evenly.
Cut the burlap straight across using a sharp rotary cutter and a self-healing mat. To create a finished rustic edge without sewing, pull the horizontal threads out one by one along all four sides. Stop pulling threads once you create a 1-inch frayed fringe around the entire perimeter.
Paint Geometric Patterns on Canvas Drop Cloths

Heavy-duty canvas drop cloths from the hardware store serve as an incredibly inexpensive base for custom textiles. Wash and dry a 9×12-foot canvas cloth to remove sizing chemicals and soften the rigid fibers. Cut a strip measuring 16 inches wide by 84 inches long.
Apply 1.5-inch painters tape directly onto the canvas to map out a bold geometric or herringbone pattern. Mix standard acrylic paint with a fabric medium in a 2-to-1 ratio so the paint remains flexible after drying. Roll the paint over the exposed canvas sections, peel the tape away while the paint remains wet, and let it cure for 24 hours.
Sew a Reversible Cotton Table Runner
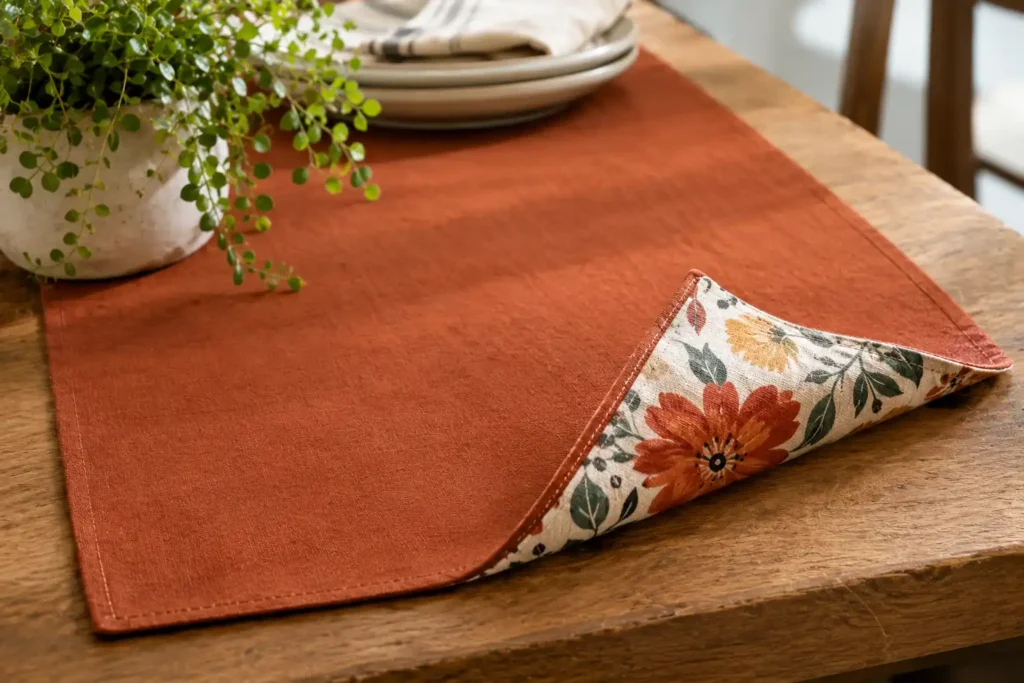
Combining two contrasting fabrics yields a versatile runner that functions for multiple seasons. Select two different medium-weight cotton fabrics, cutting one 18×90-inch strip from each pattern. Iron both pieces flat to remove deep factory creases that ruin seam alignments.
Execute the assembly using this precise sewing protocol:
- Pin the two fabrics together with the brightly printed sides facing each other.
- Sew a continuous straight stitch around the perimeter, leaving a 1/2-inch seam allowance.
- Leave a 4-inch gap unsewn along one of the long edges.
- Pull the fabric through the unsewn gap to turn the runner right-side out.
- Press the edges flat with a hot iron and topstitch exactly 1/4-inch from the edge to close the hole and secure the shape.
Pro Tip: Clipping the Corners
Before pulling the fabric through the gap to turn it right-side out, use sharp fabric scissors to snip off all 4 corners diagonally (being careful not to cut the actual thread). This removes excess bulk and ensures your corners lay perfectly flat and sharp rather than lumpy and rounded.
Dye Natural Linen Using Indigo Shibori Techniques
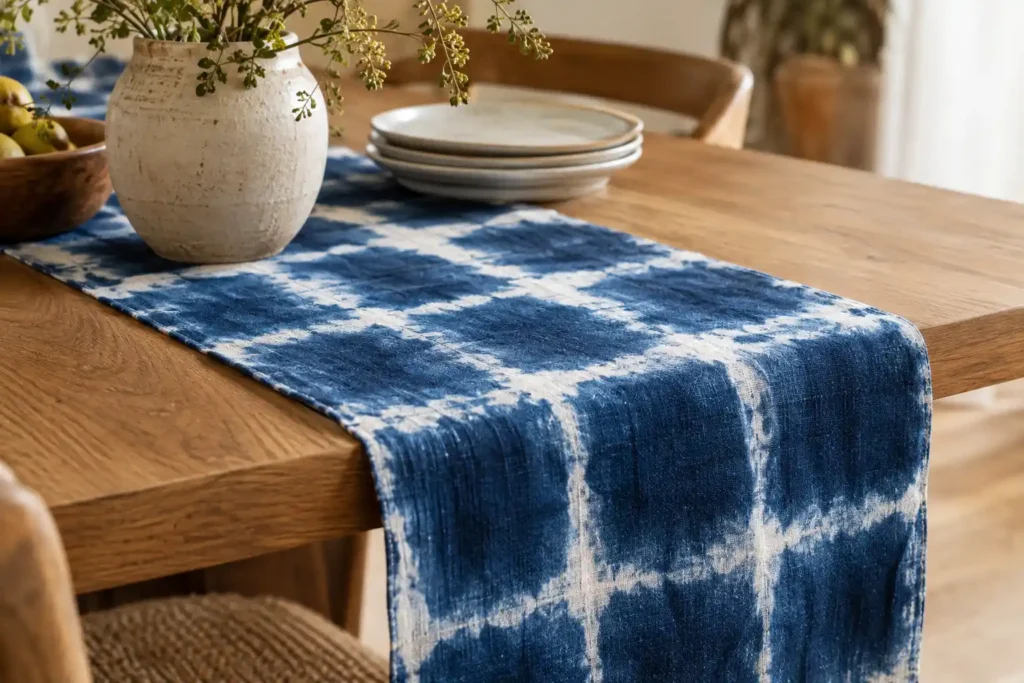
Shibori provides a sophisticated, organic pattern that modernizes a dining space. Source a runner made of 100% natural linen or cotton, as synthetic blends will reject the indigo dye. Fold the fabric accordion-style into 3-inch squares, sandwiching the bundle between two wooden blocks secured with tight rubber bands.
Submerge the bound fabric into a prepared indigo vat for exactly 10 minutes. Remove the bundle and let the fabric oxidize in the air for 20 minutes until it turns from neon green to deep blue. Implementing dye-based diy table runner ideas requires repeating this dipping process 3 to 4 times to achieve a rich, opaque color saturation.
Attach Macrame Tassels to a Woven Cotton Base
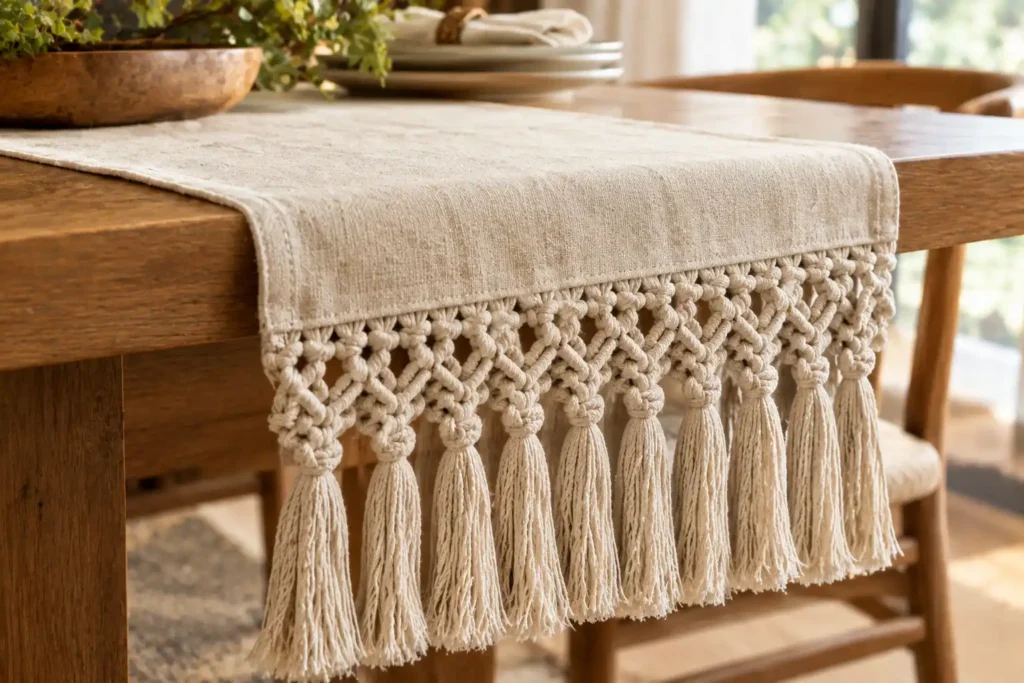
Adding heavy trim to a plain base fabric creates a high-end, textured aesthetic without requiring advanced weaving skills. Purchase a pre-hemmed solid cotton runner and 2 yards of thick macrame fringe. Cut the fringe to match the exact width of the runner’s short ends.
Pin the flat edge of the macrame trim securely under the hemmed edge of the cotton runner. Sew a zigzag stitch across the trim, reinforcing the corners by backstitching 3 times at the beginning and end of the row. The heavy tassels pull the runner tight across the table, preventing the fabric from wrinkling during dinner service.
Stencil Botanical Motifs onto a Jute Roll
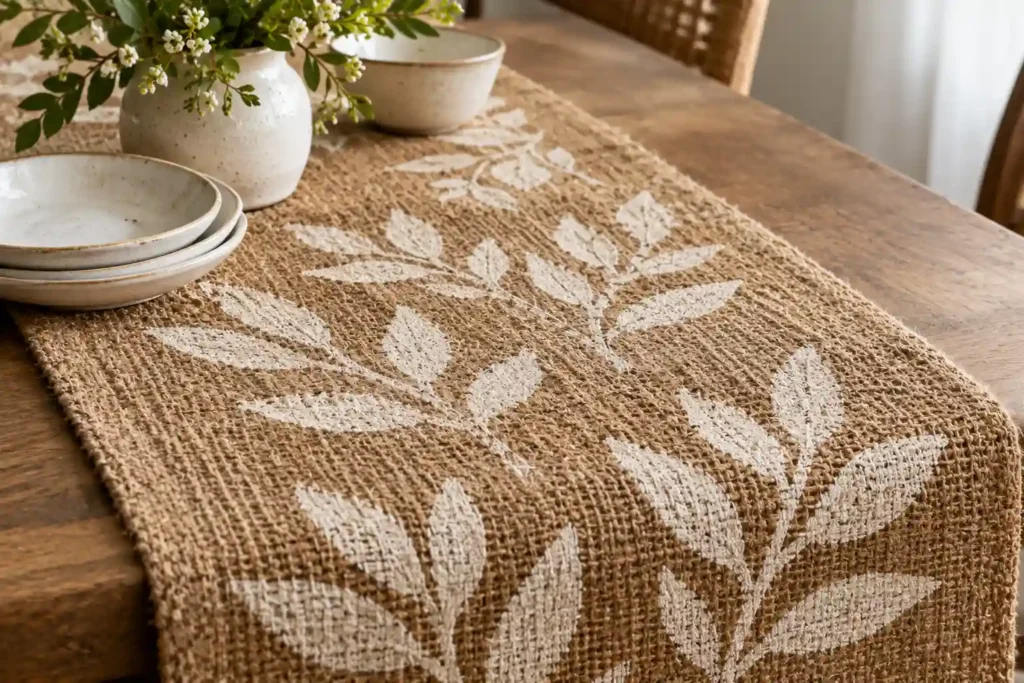
Stenciling allows precise, repeatable designs on highly textured fabrics that normally resist freehand painting. Roll out a 12-inch wide strip of woven jute across a flat work surface. Position a reusable mylar botanical stencil in the dead center of the fabric, securing it down with masking tape to prevent shifting.
Apply thick chalk paint over the stencil using a stiff-bristled stenciling brush. Use a dry-brush technique, dabbing off 90% of the paint onto a paper towel before hitting the fabric. This method prevents the wet paint from bleeding under the plastic edges. Wait 30 minutes before moving the stencil to the next section.
Assemble a No-Sew Flannel Runner for Winter
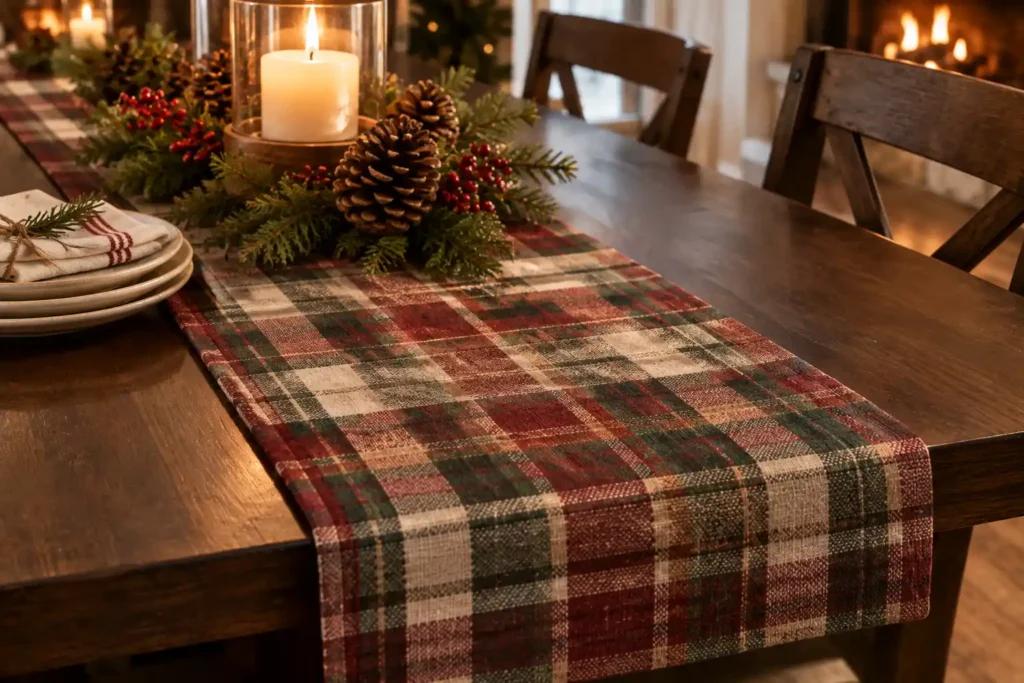
Crafting seasonal decor does not require a sewing machine when utilizing heavy-duty iron-on adhesives. Cut a 2-yard length of plaid flannel fabric measuring 15 inches wide. Fold the raw edges inward by 5/8-inch all the way around the perimeter and press them flat with a hot iron.
Slide a strip of double-sided hem tape underneath the folded edges. Press the iron firmly over the hem for 10 seconds per section, melting the adhesive directly into the flannel fibers. This no-sew approach stands up to standard laundering and provides an immediate solution when seeking fast diy table runner ideas for holiday hosting.
Conclusion
Customizing your dining room decor relies on high-quality textiles tailored to your specific table dimensions. You now possess the exact measurements, fabric selections, and assembly techniques required to craft professional-grade linens at home. Secure your materials, verify your table’s length, and choose an assembly method that matches your current skill level. Applying these diy table runner ideas guarantees a refined, custom centerpiece that anchors your dining space for years of hosting.
FAQ
How long should a table runner be compared to my dining table?
Your table runner should measure at least 12 to 24 inches longer than the length of your dining table. This precise measurement allows exactly 6 to 12 inches of fabric to hang off each end for a balanced, formal aesthetic.
What is the standard width for diy table runner ideas?
The ideal width falls between 14 and 18 inches. The runner should span approximately one-third of your table’s total width. This ratio leaves plenty of exposed wood or tablecloth space for place settings and flatware.
Can I wash a runner made with iron-on hem tape?
Yes, heavy-duty hem tape withstands repeated machine washing on cold cycles. Avoid washing the runner in hot water or drying it on high heat, as temperatures exceeding 140°F will remelt the adhesive and ruin the hem.
How do I get deep creases out of burlap or heavy canvas?
Mist the fabric heavily with a spray bottle containing equal parts water and white vinegar. Lay a damp pressing cloth over the creased area and apply an iron set to the highest steam setting for 15 seconds.